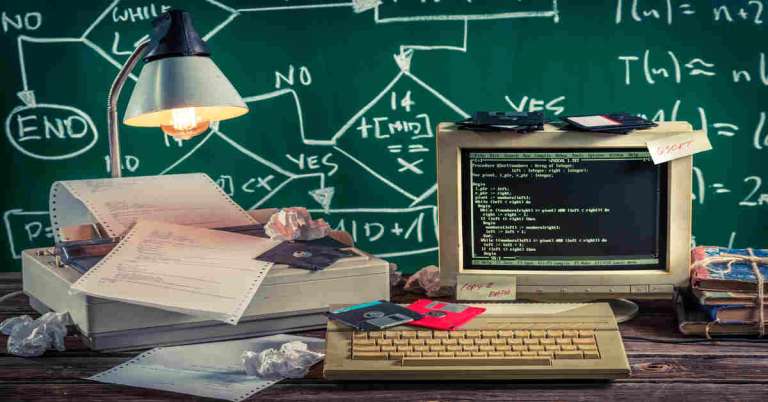
In the world where the constantly changing technology is the order of the day, the antique hardware is sometimes lost in the dustbins of attics and basements. But an increasing number of fans are developing into restorers, refurbishers, and preservationists who are creating a collection of relics of the past into operating pieces of technology. It could be a retro computer, an old-school video game console, or an old-school audio system, the restoration of retro hardware can be a very satisfying undertaking that satisfies the same nostalgia as it does the technical expertise. This is a detailed guide on the ways to revive your favorite old devices.
The Appreciation of the Value of Classic Hardware
The first thing to do before a restoration project is to comprehend the importance of old hardware. The rediscovery of vintage devices can be a historical preservation or a sentimental one, and re-creating a device of technological history. Also, the restored hardware may provide a special feature unavailable on more modern devices.
You can have classic hardware that consists of:
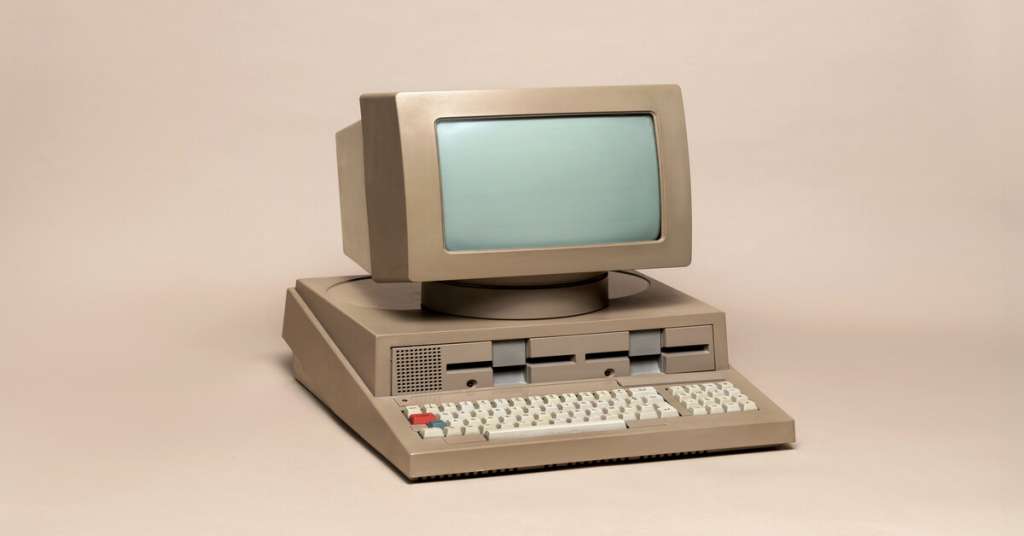
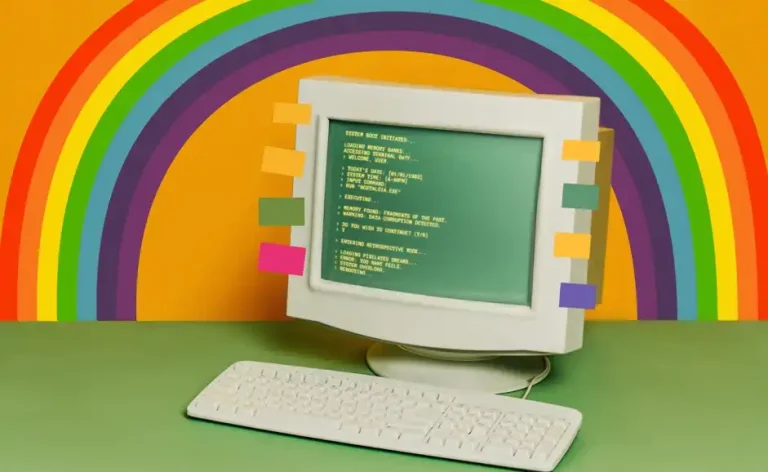
- Computers and Laptops: Old Apple and IBM, Commodore and Atari computers bring about nostalgia and give one a distinctive experience with computers. For inspiration on building your own top vintage computers collection, explore curated lists of iconic models.
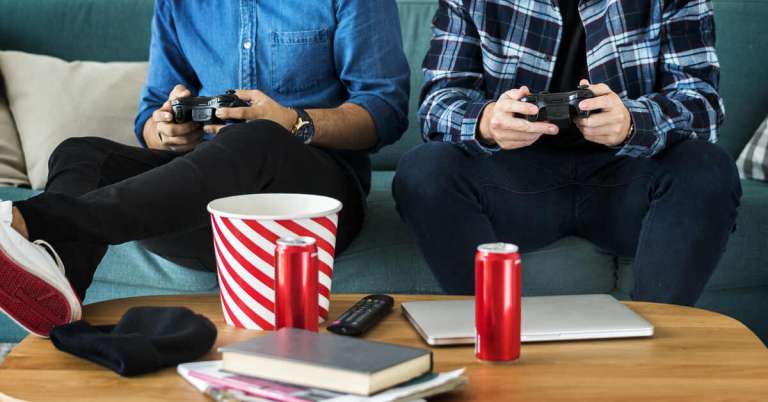
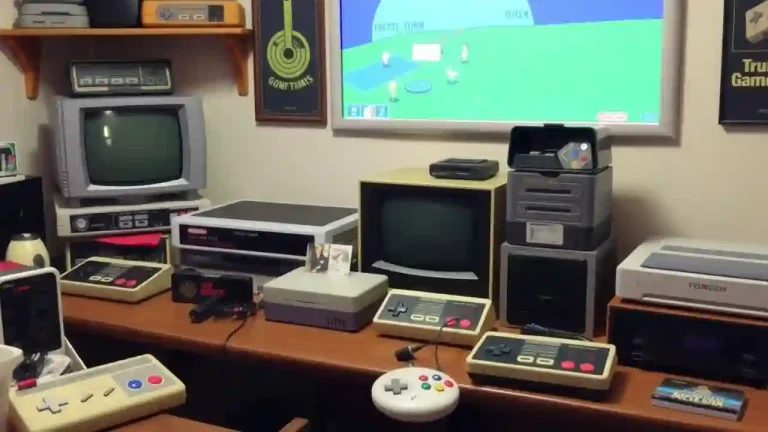
- Gaming Consoles: It is possible to revive old gaming systems such as the NES, Sega Genesis, or original PlayStation to play classic games to enjoy the beauty of retro gaming.
The process of restoration will be carried out step-by-step
Step 1: Evaluation of State and Study
The initial process to restore a classic hardware is to evaluate its condition. Nevertheless, it inspects physical damage, corrosion, or parts loss. The model to research is to get to know how common the problems are and what replacement parts are available or what does restoring the model involve. Online forums, user manuals and special sites dedicated to vintage technology can offer precious information.
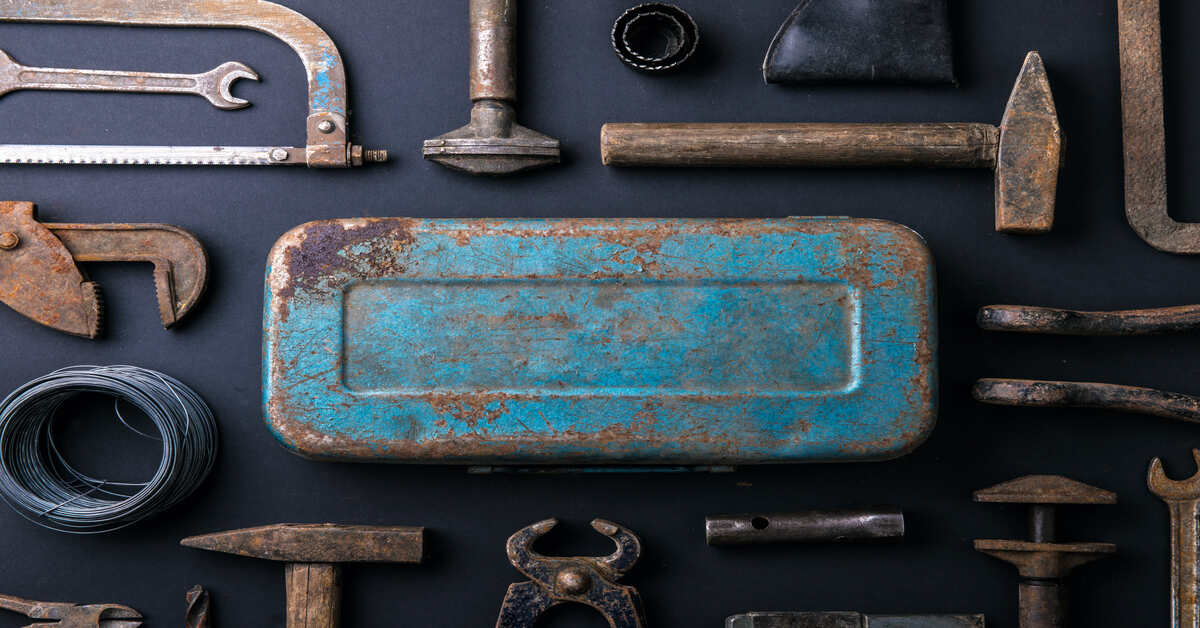
Step 2: Prepare Materials and Equipment
After having a clear vision of the restoration process, all you do is to get the required tools and materials. Software required to restore hardware can include:
- Screwdrivers: To remove the hardware.
- Multimeter:To check electrical elements and connections.
- Soldering Iron: This is used to repair circuit boards and connections.
- Cleaning Materials: Isopropyl alcohol, brushes, and microfiber cloths to clean parts.
Also, you might require some parts that can be found on the online markets, on the specialized stores or, sometimes, even in the 3D printing services of the parts that are not an easy find.
Step 3: Hardware dismantling
Break the hardware down in a careful manner to expose the internal parts. Record pictures in the course of this to be able to reassemble it properly in the future. Pay attention to the ways in which the parts are joined, and store screws and smaller parts so that you cannot lose them.
Step 4: Clean the Components
Washing is an important process in the restoration of old hardware. The over years may result in dust, dirt, and grime that may affect performance. Wipe circuit boards, connectors and other components using a delicate brush with isopropyl alcohol. Delicate parts should be handled carefully and excess moisture should be avoided.
Step 5: Replacement or Repair of Damaged Parts
After a cleaning, check the parts of the components. Common issues include:
- Corroded Capacitors: these may be replaced most of the time with new ones. Ensure that you check the specifications in order to be compatible.
- Broken Connectors: When connectors have been damaged, they could require being resoldered or replaced. Repair with soldering iron, care being taken not to spoil the circuit board.
- Worn out mechanical parts: In devices that have moving parts such as disk drives, it is a good idea to replace the belts or even clean and lubricate the mechanism.
In case some parts cannot be fixed, it might be required to find other alternatives. EBay websites or specialized vintage hardware stores or forums within communities are useful in sourcing spares.
Step 6: Reassemble and Test
Once the hardware is repaired, replaced, etc., re-assemble it. See the pictures made in the course of disassembly to check the positioning of every part. After putting it back, it is time to test the device.
Connect the hardware with a power source and verify functionality. When it is a computer or a gaming console, then see if you can boot it and get software or games loaded. It is advisable to have some troubleshooting skills; in case the machine is not functioning as anticipated, go back to the last stage to make sure that everything is connected and all parts are properly attached.
Step 7: Modern Upgrades
In order to bring back old hardware to be used as a modern one, it is possible to introduce some changes keeping the old look. For example:
Installation of USB Ports: In the case of old computers, modern connectivity is possible with the internal USB expansion cards which do not alter the old appearance.
Retrofit Display: When updating old game consoles, you should consider adopting newer display technology, such as HDMI converters, to allow them to be connected to the modern TVs but maintain the retro gaming effect.
Step 8: Share Your Experience
After your restoration project has been finished, you should consider telling your story with other members of the vintage technology community. Record the restoration process by taking photos or videos, and share it on a forum, social media, or on personal blogs. Telling people about your success will motivate others to take the restoration journey.
Conclusion
Restoration is not merely a reward project, but also a means to conserve technology history and legacy. With proper evaluation, cleaning, repairing, and contemporary upgrades, the ancient equipment can be turned into a working work of art, which glorifies the resourcefulness of the previous innovations. Having proper tools and enthusiasm of restoration anyone can restore their favorite old hardware.
Patience and detail are very important as you start your process of restoration. Being able to relate to the past and to enjoy the development of technology, each project will help you to do it. Roll up your sleeves, have your tools, and get back to work today and revive those old time classics of hardware!
Leave a Comment